Creating Garden Edges
In a well-groomed garden, creating sections and well defined areas, go hand in hand by creating edges to create the separation. Edging creates order, but also a level is sophistication within the garden space. Garden Edges helps the maintenance of the garden, easier to groom plants and lawn sections. Edging technique can also be used to create height differences in the garden. Then typically we talk about building a retaining wall. Naturally this requires more sturdy material.
Edging creates clean, crisp lines between beds and other areas. It’s most visible between a lawn and an garden sections next to it, but landscape edging can define any border, a flower bed, a single tree, or the transition from a patio to the surrounding landscaping.
Material for Creating Garden Edges
Edging can be created using virtually any material that is at your disposal, however, these are the most common
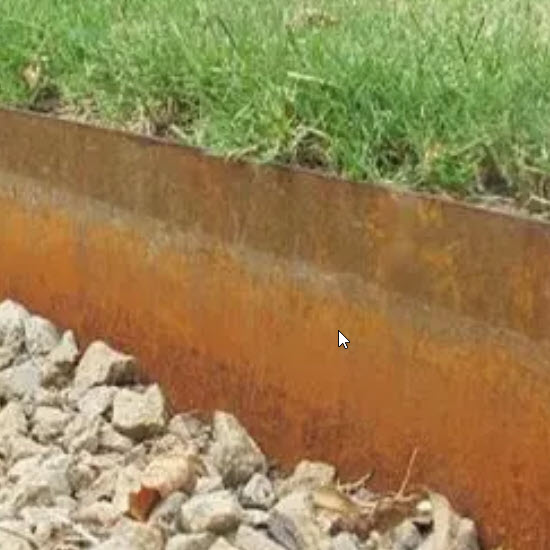
Metal Edging
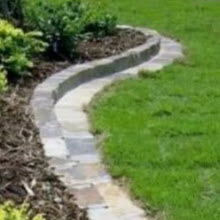
Stone or Concrete Edging
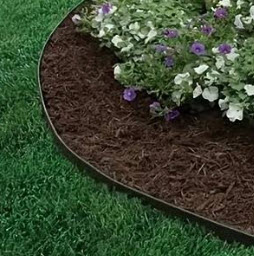
Rubber or Plastic Edging
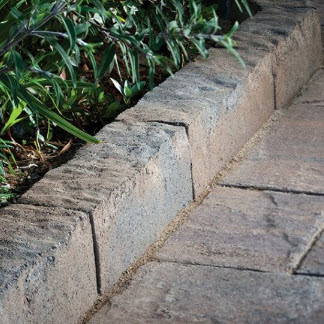
Natural Stone or Pavers
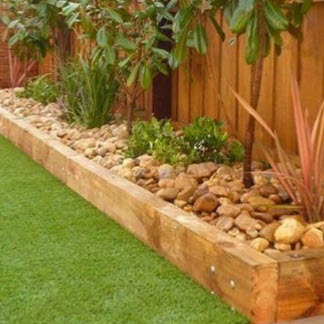
Wood edging & Retaining wall
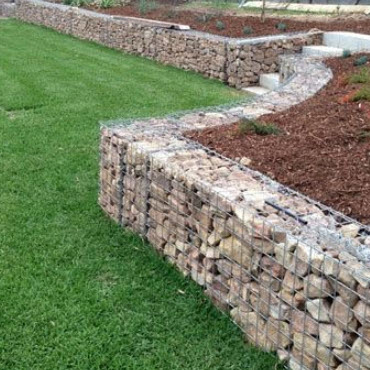
Gabion basket
Creating Garden Edges in your own garden
We will cover the most common ways to create edging in your garden. Also building of your own retaining wall will be covered.
-

We tried something new #shortswithcamilla #landscaping #gardenmakeover
-

Building Steps from Timber Sleepers - GARDEN RENOVATION
-

How To Build Retaining Wall - Bunnings Warehouse
-

How to Build a Timber Retaining Wall (CHEAP & EASY)
-

EASY Lawn Edging Installation - Garden Wood Edge Ideas
-

DIY Lawn Edging Installation - Garden Renovation
-

DIY Metal Lawn Edging Installation : CORE EDGE
-

The ULTIMATE Concrete Landscape Edging (DIY Concrete Garden Curb)
-

Curb It Yourself 1
Whether you’re a seasoned gardener or a beginner, here are the key steps to achieve beautiful garden edging:
1. Measure and Plan
Before you start, measure and mark the area where you want to install the edging. Use string and stakes to outline the desired borders. Consider gentle curves for visual interest, avoiding sharp angles that might protrude into pathways.
2. Choose Your Edging Material
Select the right type of edging based on your needs and preferences. See above the typical options for edging material choices.
3. Prepare the Area
Dig a trench along the marked line to accommodate the depth and width of your chosen edging material. The trench should match the height of the edging. Remove any small roots that get in the way. In the videos above you find many good examples and instructions.
4. Install the Edging
Place the edging material into the trench. For flexible options like plastic or metal, anchor them to the ground with spikes. For concrete or stone, professional installation is recommended. Make sure the edging sits level and straight.
5. Secure and Finish
Backfill the trench with soil, ensuring the edging is stable. If using wooden edging, hide the stakes by backfilling with topsoil. For metal or plastic, secure the stakes every few feet. Finally, step back and admire your beautifully defined garden beds and pathways!


